 English
 Indonesia

Every molded component has a moment of truth when the press closes and the cavity fills for the first time. Geometry can look perfect in CAD, but real behavior depends on resin shrinkage, cooling, venting, gate placement, and packing pressure. An injection mold prototype exists to capture that behavior early: it is a practical, temporary tool that produces real plastic parts in small quantities so you can validate the product before spending a larger budget on permanent tooling. If you understand the trade-offs described below, you will know when a prototype mold is worth the money and when a cheaper approximation will do.
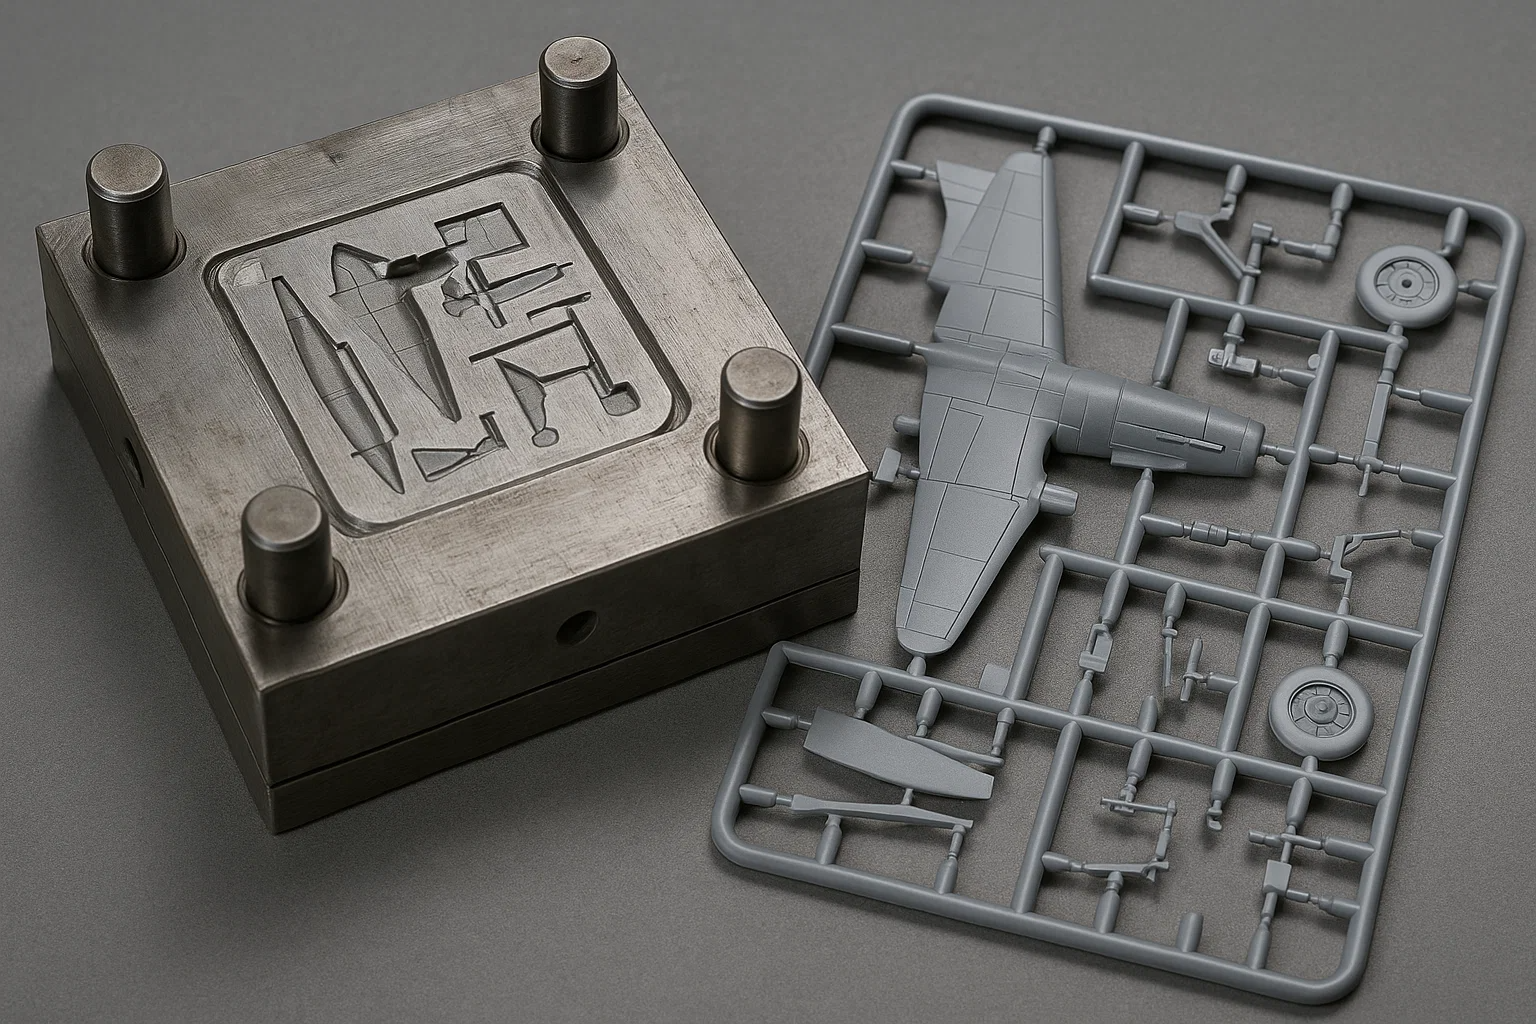
What Counts as an Injection Mold Prototype
An injection mold prototype is a low-volume mold built from the same CAD data that will later drive the production tool. It is typically a single-cavity tool cut from aluminum or pre-hardened steel, with simplified cooling lines and a design that can absorb modest geometry changes. The mold runs on a standard injection molding machine under normal production pressures, temperatures, and clamp forces, using the actual resin specified for the product.
This makes the resulting parts different from 3D-printed samples or CNC-machined test pieces. A molded prototype is formed by molten plastic flowing through a gate and solidifying under pressure against a steel or aluminum surface. It carries real gate vestiges, ejector pin marks, weld lines, and shrink behavior. If your evaluation depends on any of those characteristics, no subtractive or additive process can honestly substitute.
Why Use a Mold Before You Have a Production Tool
The main reason to commission a prototype mold is that some product risks can only be measured on an injection-molded part. A 3D print can confirm rough ergonomics or assembly clearances, but it cannot tell you whether a living hinge survives repeated flexing, whether thin-wall flow lengths fill completely, or whether glass-filled nylon warps out of spec. A prototype mold answers those questions while the design is still cheap to change.
Choosing an injection mold prototype makes sense when any of the following conditions apply:
- The part has snap-fits, living hinges, or thin-wall sections whose function depends on material orientation during filling.
- The part must meet testing requirements, such as UL flammability, drop tests, or chemical resistance, using the exact production grade of resin.
- Critical surfaces will receive a specific SPI finish, texture, or color that must be approved on parts with real mold-surface replication.
- The design must be assembled with metal inserts, gaskets, electronics, or mating components to validate tolerances under true shrinkage.
- Your team needs parts for pilot production, field trials, or certification before committing to high-volume tooling.
If none of these risks exist, a machined sample or 3D-printed part can be sufficient for the current stage. The prototype mold is not always the fastest or cheapest route; it is the route that gives you authentic molding data.
Prototype Mold vs. Production Mold
A prototype tool is not a lower-quality version of the production tool. It is a different instrument designed for short runs and fast iteration, while the production mold is engineered for long service life and rapid cycle times. Because the engineering goals differ, so do the materials, lead times, and costs.
| Factor | Prototype Mold | Production Mold |
|---|---|---|
| Primary purpose | Design verification and low-volume sampling | High-volume manufacturing with long service life |
| Typical tool material | Aluminum or pre-hardened steel | Hardened tool steel such as H13, S136, or P20 variants |
| Tool life | A few thousand to tens of thousands of cycles | Hundreds of thousands to over a million cycles |
| Expected lead time | Roughly two to six weeks | Typically eight to twenty weeks or more |
| Sample volumes | Dozens to a few thousand parts | Thousands to millions of parts |
| Cost per part | Higher because of short runs | Lower because of cycle efficiency and amortized tooling |
| Design change capacity | Moderate; inserts and details can be reworked | Limited; changes are expensive and slow |
Some projects use an intermediate approach: a bridge tool made of more durable steel with limited multi-cavity layout. A bridge tool can support market launch while the high-cavitation production mold is being built. In practice, discuss expected part volume with the molder early so they can recommend whether a straight prototype tool, a bridge tool, or a light-production tool is the right economic fit.
Material Selection and Tolerance Considerations
Once you commit to prototype injection molding, material selection becomes surprisingly specific. The goal is not simply to use an approximate resin with similar stiffness; it is to use the final production grade so shrinkage, surface appearance, and mechanical properties align with what you will later purchase in bulk. Common families include unfilled or glass-reinforced polypropylene, ABS, polycarbonate, nylon, PC/ABS blends, and POM. Even the colorant masterbatch can influence finished dimensions, so make choices early.
Tolerance expectation must also be realistic. A well-built prototype mold can hold commercial injection molding tolerances, often around 0.002 to 0.005 inches per inch for stable geometries, but this depends heavily on material shrinkage, wall thickness uniformity, and process control. The prototype run will reveal whether the dimensionally critical features actually land where the mold flow analysis predicted. That knowledge matters more than achieving the tightest possible numbers in the first trial.
Realistic Cost and Lead-Time Expectations
As a rule of thumb, a single-cavity prototype mold with moderate complexity lands in the range of a few thousand to roughly twenty-five thousand dollars, while a simple insert or family tool can be even less. The cost is driven by part size, steel versus aluminum selection, number of slides, thread action, surface finish requirements, and how many engineering changes you expect. Per-part cost will be several times higher than full-production pricing because volumes are small and process setup is not yet optimized.
Lead time follows a similar pattern. A straightforward aluminum tool can be ready in two to four weeks, while a tool with slides, lifters, or exotic resin requirements may take six weeks. If you need multiple sampling rounds or surface-texture approval, plan an extra buffer. Working with a supplier that controls the full chain shortens that calendar considerably. A molder with an authentic injection molding capability in-house can start cavity cutting the moment the design is frozen, without double handoffs, and can run the first shots as soon as the tool is mounted.
Turning Prototype Results into Production Decisions
The value of an injection mold prototype is proportional to how carefully you read the sample parts. Measure the critical features across multiple shots, not just the first one, because warpage and sink marks often appear after the process reaches a stable temperature. Record actual process parameters such as melt temperature, injection pressure, and cooling time. Then compare them against the simulation data used to design the tool.
The companies that execute this transition most cleanly bring their moulder in before the first drawing is released. During a structured design-for-manufacturing review, the tooling engineer can identify draft problems, wall-thickness imbalances, and gate-location risks while they still exist as digital changes rather than steel modifications. That kind of interaction sits squarely inside the customized engineering and co-development workflow that mold-experienced suppliers prefer. Their engineering team reviews material options, predicts shrink, and confirms that the prototype trial is prepared to answer the right questions.
With a solid prototype phase, the path to production is much safer. Your team has real parts for testing, reliable dimensional data for tolerance stack-ups, and a process window that can be transferred to the final multi-cavity mold. The prototype mold becomes the learning tool it was meant to be, and the production tool receives a part design that has already proven itself under real conditions.
Ultimately, an injection mold prototype is a risk management investment, not a packaging choice. When the material, the geometry, or the downstream assembly conditions are new to you, the plastic itself will teach you more than any model file can. Commission a prototype mold early enough to influence the design, use the parts to make engineering decisions, and carry the measured parameters into production so that the final tool starts with an established process rather than a guess. That discipline separates successful product launches from long debugging cycles.


